
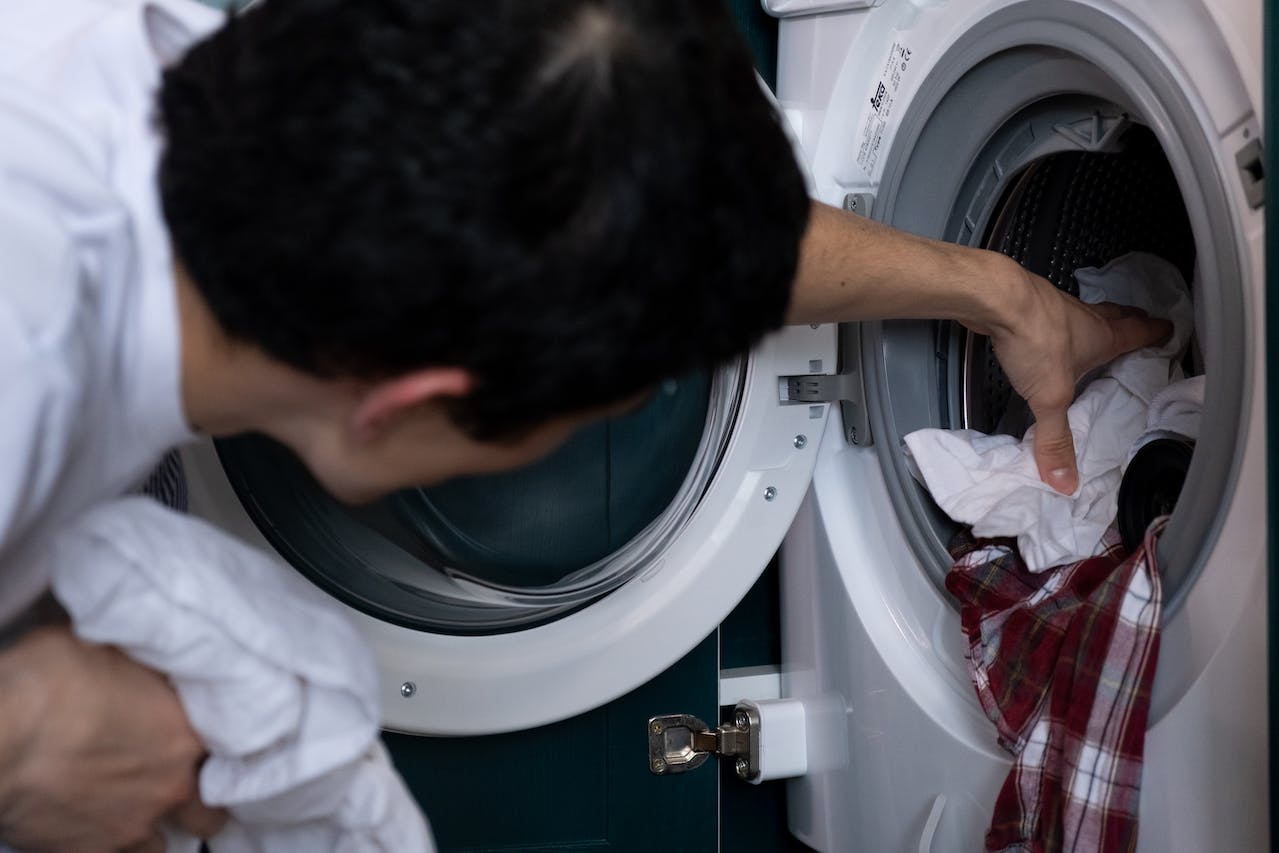
Everyone loves warm dry clothes, especially as the colder months approach. So, getting your new dryer up and running is a top priority. Installing a new dryer may seem daunting, but with the right guidance, it will be done faster than your next laundry load. This step-by-step guide from the expert technicians at Maydone will walk you through the installation process, ensuring a smooth and easy installation for your new dryer.
Before You Install, You Should
Because dryers are a pretty big appliance and investment it’s best to make sure you are fully ready for the installation before you begin. This prevents issues from popping up and makes things go so much smoother.
Read Your Instructions
Starting at the beginning helps. Thoroughly reading the user manual that comes with your dryer will provide specific instructions from the manufacturer, including safety guidelines and any unique features of your appliance.
Check Your Laundry Space
Before going shopping you must carefully measure the space where you plan to install the dryer to ensure a proper fit. Adequate space is essential for ventilation and to allow the dryer to function efficiently.
Your Tools
Make sure you have all the tools required for the installation, and some human help if you need it, remember dryers are heavy and can be bulky. Common tools include a screwdriver, adjustable wrench, level, and a power drill.
Ensure Proper Ventilation
A well-ventilated area is crucial for a dryer to function efficiently and for reducing fire risks and potential damages. Check that your venting system is clean and in good condition. If necessary, consider replacing or cleaning the vent hose.
How To Install A New Dryer Yourself
Now that you’ve completed the preparations, let’s get your new dryer working!
Place and Level The Dryer
Position your dryer exactly where you plan to install it and then use a level to ensure that the dryer is perfectly level.
This is crucial for the appliance’s stability and proper operation, an unleveled dryer can become loud and parts may come loose. Adjust the leveling legs as needed.
Prepare The Power Source
- If your dryer is electric, connect it to the power source using the appropriate power cord, and make sure beforehand that it’s the right power level.
- For gas dryers, you must consult a professional to install the gas line for safety reasons.
- Then, ensure all connections are secure.
Connect Your Vent Hose
Attach the vent hose to the back of the dryer and secure it with a clamp. The other end of the vent hose should be connected to the venting system in your home.
This step is vital for proper ventilation and preventing lint buildup.
Secure The Ductwork
If your dryer includes ductwork, secure it according to the manufacturer’s instructions. This typically involves using screws or clamps to ensure a tight and secure connection.
Attach the Dryer Feet (for some models)
If your dryer has removable shipping feet, remove them and attach the permanent leveling feet. This enhances stability and reduces vibration during operation.
Check Gas Connection (for some models)
For gas dryers, ensure that the gas line is properly connected and that there are no leaks. If you’re unsure, consult a professional to handle this aspect of the installation.
Secure The Exhaust Hood
If your venting system includes an exterior exhaust hood, secure it in place. This prevents pests and debris from entering the vent and ensures efficient airflow.
Test Dryer
Before loading clothes, run a test cycle to ensure that the dryer is functioning correctly. Check for any unusual noises, vibrations, or issues with heat distribution.
You Can Definitely do This, or Call Maydone!
With these step-by-step instructions from the experts, installing your new dryer can be an easy task you complete by yourself.
Always following your appliance guidelines and safety precautions, for the longevity and optimal performance of your appliance.
However, remember there is no shame in calling the experts if you feel overwhelmed, and trusting your local appliance installation service can save a ton of headaches.
Time to enjoy those warm dry clothes!


