
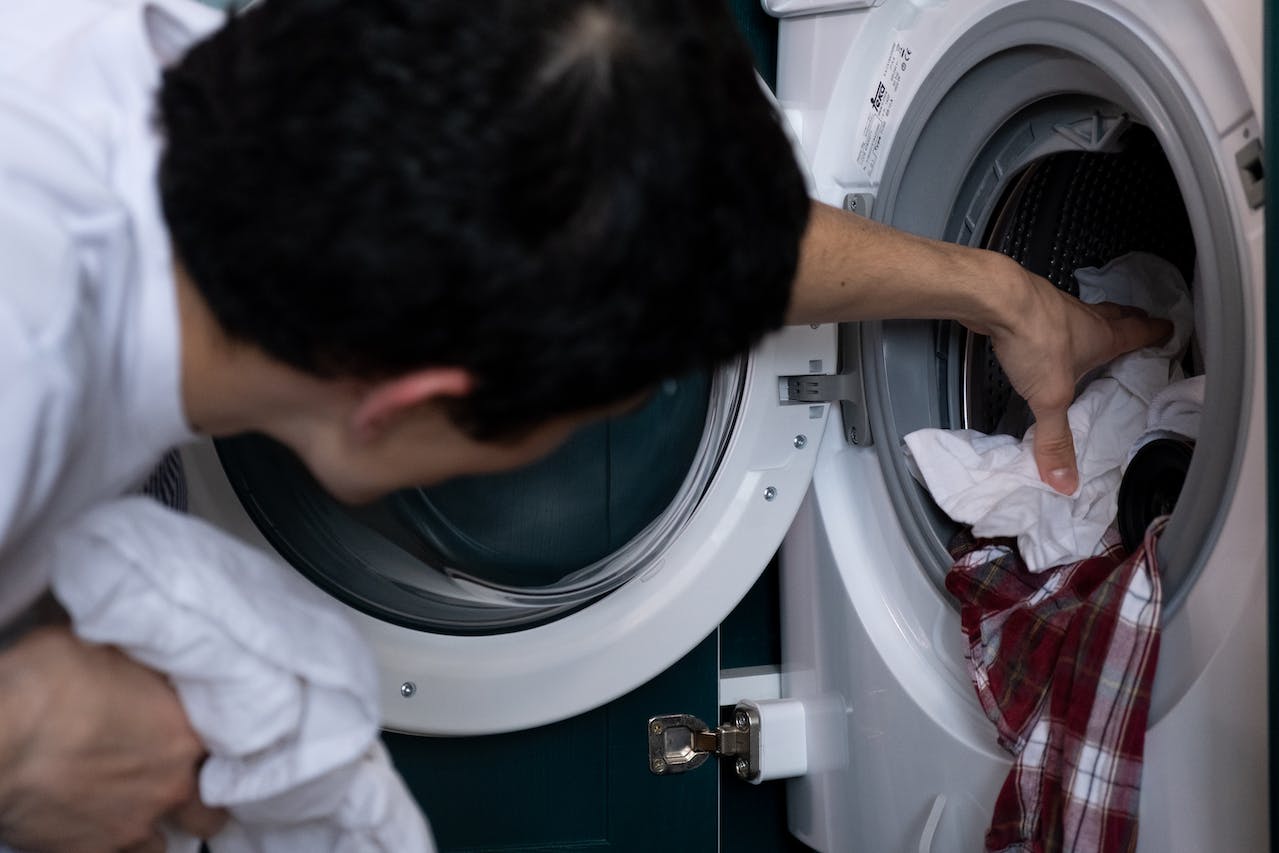
Getting a new dryer is genuinely exciting — nothing beats warm, dry clothes on demand, especially once the weather turns cold. Installing it, though, can feel like a bigger task than it needs to be. This guide breaks the whole process down so anyone can follow along, whether you’re installing your first dryer or just need a refresher.
Before You Begin: Prep Is Key
Taking a few minutes to prepare properly saves a lot of hassle once you’re mid-installation.
Read the User Manual
The manual is genuinely your best resource here. Manufacturers include important safety instructions, power requirements, and model-specific installation notes that a generic guide like this one can’t fully replace. A quick read-through prevents avoidable mistakes.
Measure Your Laundry Space
Confirm the spot you’ve picked is large enough and allows for proper ventilation — most dryers need a few inches of clearance on all sides for airflow, so don’t skip this measurement.
Gather Your Tools
- Screwdriver
- Adjustable wrench
- Level
- Power drill
- Vent hose clamp
Having everything within reach keeps the whole process moving efficiently instead of stopping halfway to find a tool.
Check the Venting System
A clean, functioning vent matters more than people expect — a blocked vent leads to inefficient drying and, over time, a genuine fire hazard. If your existing vent system is old or looks clogged, clean or replace it before installing the new dryer.
Installation Steps
Step 1: Position and Level the Dryer
Place the dryer in its designated spot, confirming it fits comfortably within the space. Use a level to make sure it’s perfectly balanced, adjusting the feet as needed — this step alone prevents a surprising amount of excess noise and vibration during normal use.
Step 2: Connect the Power
For an electric dryer, connect the power cord to the dryer’s terminal block, confirming the cord matches the required voltage, usually 240V. For a gas dryer, it’s best to hire a licensed professional for the gas line connection, since it involves real safety risk that’s not worth taking on without the right training.
Step 3: Attach the Vent Hose
This step is critical for safe ventilation. Secure the vent hose to the back of the dryer with a clamp, then attach the other end to your home’s vent system. Confirm there are no bends or kinks anywhere along the hose, since even a single kink can meaningfully restrict airflow.
Step 4: Secure the Ductwork
If your dryer has ductwork, attach it securely with screws or clamps following the manufacturer’s guidelines exactly. Properly secured ductwork prevents lint buildup and overheating, both of which are common causes of dryer fires when ventilation isn’t installed correctly.
Step 5: Install Dryer Feet (If Needed)
Some dryers ship with temporary shipping feet that need to be swapped for permanent leveling feet before regular use. This keeps the dryer stable and noticeably quieter during operation.
Step 6: Test for Gas Leaks (Gas Dryers Only)
If you’re installing a gas dryer, check every connection for leaks using a soapy water solution — bubbles forming at a connection point mean a leak, so tighten it and test again.
Not fully confident testing gas connections yourself? Call +1 (647) 558-5825 rather than guessing — a gas leak isn’t something worth taking a chance on to save an hour of labour.
Final Check: Running a Test Cycle
Before loading the dryer with laundry, run a full test cycle to confirm everything’s working properly. Listen for any unusual noises, check that air is actually flowing from the exterior vent, and confirm the dryer heats evenly throughout the cycle.
How Much Does Professional Dryer Installation Cost?
DIY installation costs you the tools and materials listed above, but it does carry risk — improperly connected gas lines or a poorly sloped vent are two of the most common causes of an early service call after a fresh install. Professional installation with Maydone typically includes secure electrical or gas connections, properly routed ductwork, and a full function test before the technician leaves. Pricing depends on your specific dryer type (electric vs. gas) and whether new venting needs to be run, and we always confirm the cost upfront.
Why Professional Installation Might Be the Right Choice
While DIY installation is entirely possible, calling a professional is sometimes the smarter move. Professionals confirm every connection — especially for gas dryers — is secure, and they can catch potential issues an untrained eye might miss entirely. Proper installation prevents long-term damage to the dryer itself and helps avoid safety hazards like electrical faults or improper venting, both of which are genuine fire risks if done incorrectly.
Brands We Install
Our technicians install all major dryer brands, including LG, Miele, Whirlpool, Maytag, Speed Queen, Electrolux, Samsung, Bosch, GE, Beko, Amana, ASKO, and Frigidaire, along with commercial Electrolux laundry systems. Whatever brand you’ve purchased, expert installation protects your warranty and ensures the dryer performs the way it’s meant to from day one.
Book an Appointment With Our Technicians Today
If your dryer starts making strange noises after installation, stops drying efficiently, or shows an error code down the line, our technicians can diagnose and fix it quickly — often preventing a more expensive repair later. Call +1 (647) 558-5825 or reach out online to schedule installation or repair service.
Frequently Asked Questions
Can I install an electric dryer myself?
Yes, most electric dryer installations are manageable for a DIYer comfortable with basic tools, as long as the outlet matches the required voltage and you follow the manufacturer’s instructions closely. Gas dryers carry more risk and are better left to a licensed professional for the gas line connection.
Why does my dryer need space around it after installation?
Proper clearance allows for airflow, which helps the dryer vent heat and moisture efficiently. Too little space can cause overheating and reduce drying performance, even if every other part of the installation was done correctly.
How do I know if my dryer’s vent is properly installed?
Run a test cycle and check that air is flowing steadily from the exterior vent cap while the dryer runs. Weak or absent airflow usually points to a kink, blockage, or a vent run that’s too long for the dryer’s fan to push air through effectively.
Is it safe to test for gas leaks myself?
Yes, using the soapy water method is a standard, safe way to check gas connections — bubbles forming indicate a leak. That said, if you find a leak or aren’t fully confident interpreting the test, it’s worth having a licensed professional confirm and complete the connection.
Do I need to replace the dryer’s shipping feet before using it?
Yes, if your model came with temporary shipping feet, they should be swapped for the permanent leveling feet before regular use. Skipping this step can leave the dryer less stable, noisier, and more prone to vibration during cycles.
Will improper installation void my dryer’s warranty?
It can, depending on the manufacturer and what specifically went wrong. Professional installation not only reduces the risk of damage but often helps preserve your warranty, since some manufacturers require proof of correct installation for certain claims.
Installing a gas dryer, or just want the connections double-checked?
Book an Appointment With Our Technicians Today
Our technicians handle the full installation — power, venting, and gas connections — for communities across Ontario, from the Greater Toronto Area all the way to Ottawa and Orillia. Call +1 (647) 558-5825 or book online to get it done safely.


 BOOK NOW


