
A range hood is a vital appliance in any kitchen, ensuring proper ventilation and air quality while cooking. Installing a range hood might seem daunting, but it can be a manageable DIY project with the right tools and steps. However, professional installations like Maydone’s are recommended for safety and efficiency. Additionally, calling expert technicians for maintenance and repairs is crucial to ensure the hood’s longevity and optimal performance.
1. Choose the Right Location
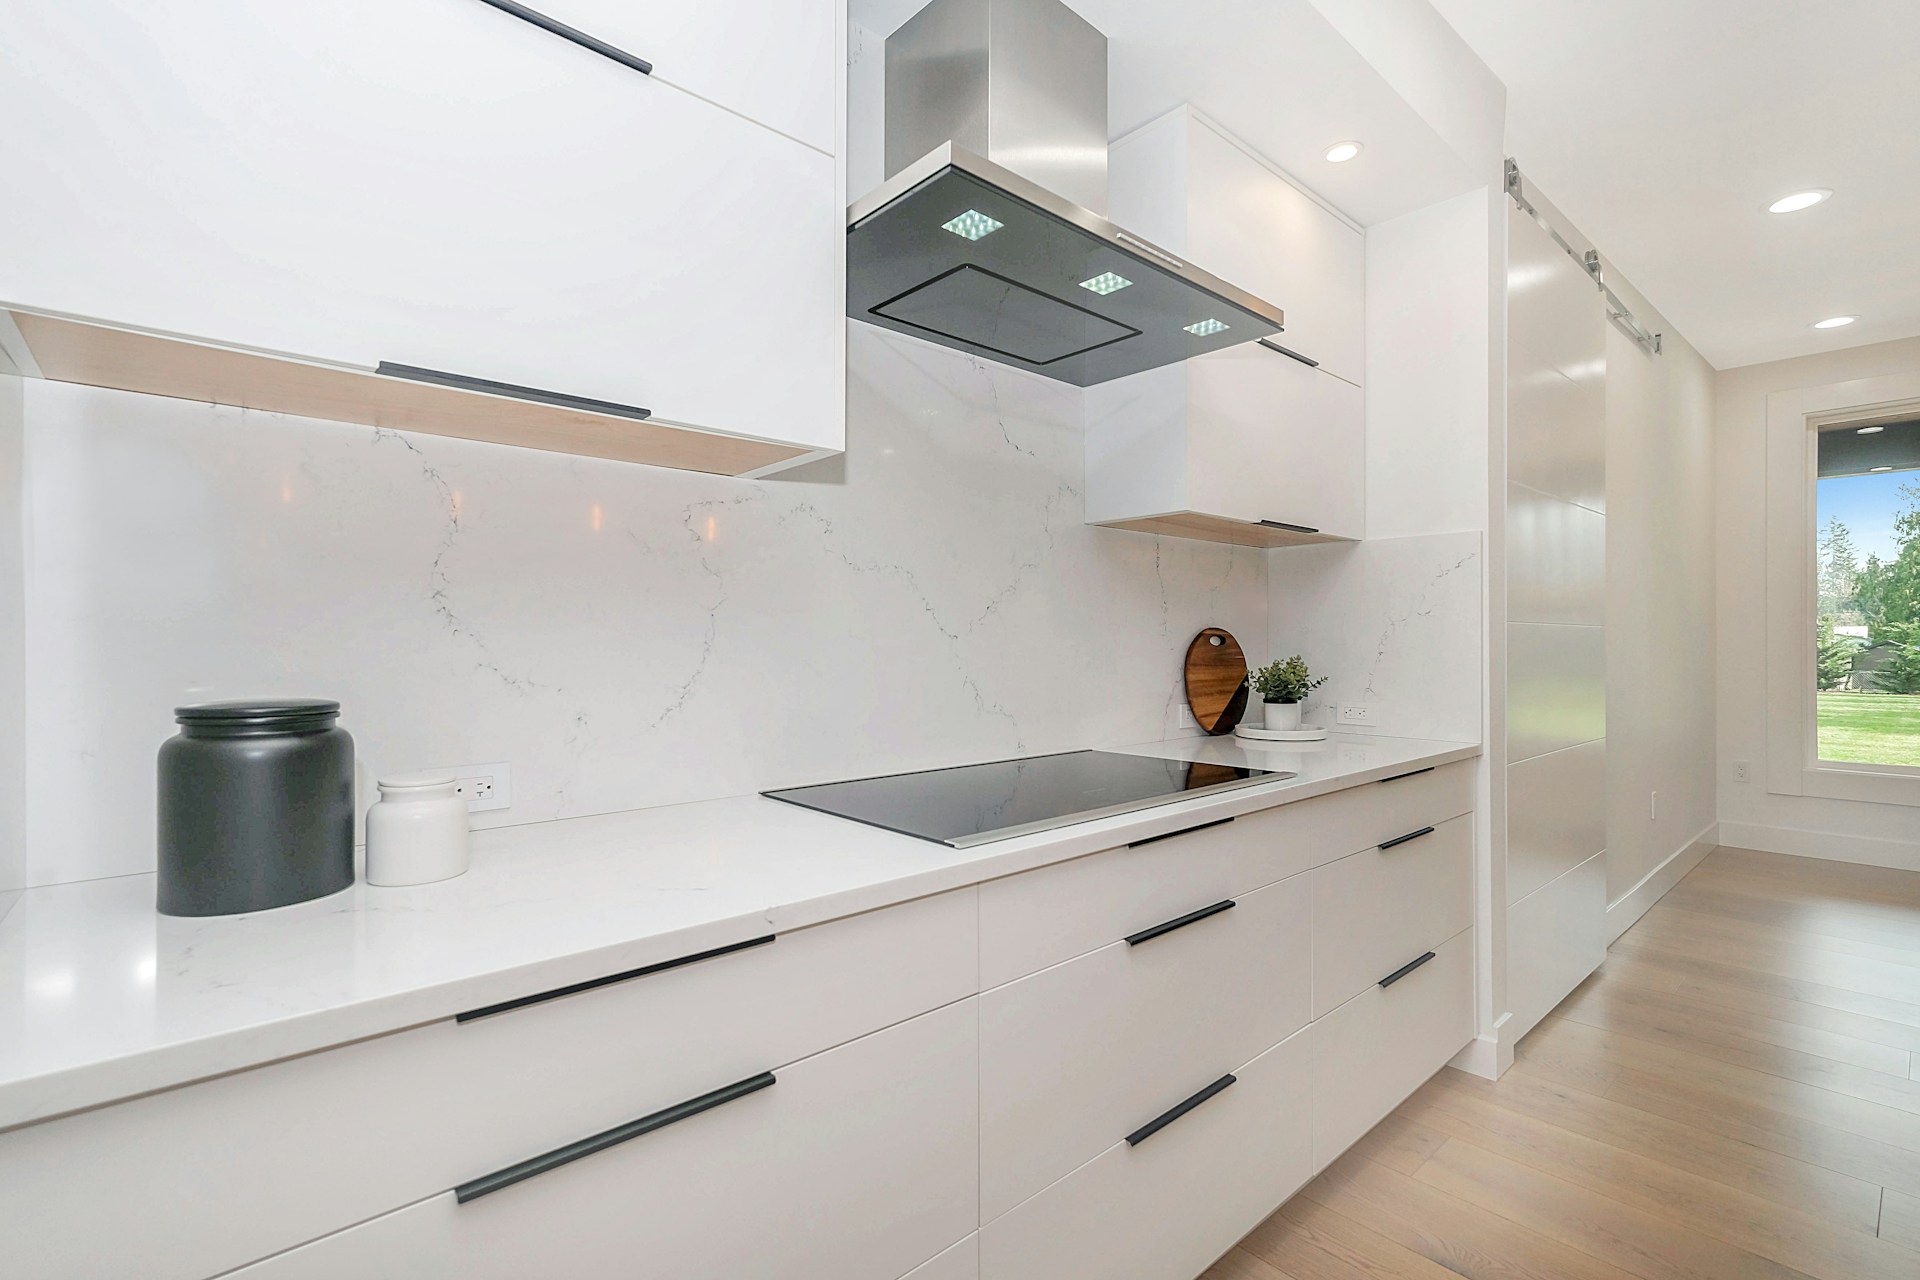
Before installing, select the ideal location for your range hood. It should be positioned directly above your cooking surface to capture smoke, steam, and odors effectively.
Make sure there is access to a power source nearby for electrical models.
2. Gather Tools and Materials
Collect the necessary tools and materials:
- Range hood
- Ductwork (if venting outside)
- Vent pipe or ductless kit
- Screwdriver
- Drill with bits
- Measuring tape
- Pencil
- Level
- Stud finder
- Wire nuts
- Vent hose (if ducting outside)
- Safety goggles and gloves
3. Turn Off Power
Safety first! Locate the circuit breaker for your kitchen and turn off the power to the existing range hood or the area where you’ll be working.
4. Remove Old Hood (if applicable)
If replacing an existing hood, disconnect it from the power source and remove it carefully.
Unscrew any mounting screws and detach it from the wall or cabinet.
5. Install Mounting Bracket
Follow the manufacturer’s instructions to install the mounting bracket for your new range hood.
Use a stud finder to locate the wall studs or ceiling joists to ensure a secure installation.
6. Position and Secure Range Hood
With the help of a friend or family member, lift the range hood into place and align it with the mounting bracket.
Use a level to ensure it is perfectly horizontal. Secure the hood to the bracket using screws provided by the manufacturer.
7. Venting Options
Decide on your venting method—either ducted (venting outside) or ductless (recirculating air through filters).
If ducting outside, attach the vent pipe to the hood and secure it to the exterior wall or roof. Use appropriate sealing materials to prevent air leaks.
8. Electrical Connections
Make electrical connections according to the manufacturer’s instructions for ducted hoods with built-in lighting or other features.
Typically, this involves connecting the wires (black to black, white to white, and green or bare copper to ground) using wire nuts.
9. Test the Hood
Once everything is installed and connected, turn the power back on at the circuit breaker and test the range hood to ensure it functions correctly. Check the fan speeds and lighting.
10. Professional Installation and Maintenance
While DIY installations are possible, professional installations are recommended for safety and effectiveness.
Expert technicians have the knowledge and tools to install your range hood correctly and efficiently.
Taking Care of Your News Appliances: Why Call Experts for Maintenance and Repairs
Regular maintenance is essential to keep your range hood working optimally. Expert technicians can:
- Clean and replace filters regularly to maintain air quality.
- Inspect ductwork for any blockages or leaks.
- Repair or replace malfunctioning components promptly.
All Done!
Installing a range hood can enhance your kitchen’s functionality and air quality. You can enjoy a well-ventilated and comfortable cooking space by following these steps and considering professional installations and maintenance.
Safety is paramount, and consulting experts for complex installations or repairs is always a wise decision. If in doubt, contact qualified technicians to ensure your range hood operates efficiently for years to come.


